You’ve been following the recipe to the letter, yet somehow your dish still turned out underwhelming. The chicken is dry, the vegetables are mushy, and you’re left wondering why restaurant meals taste so much better than your home cooking. The difference isn’t talent or expensive equipment – it’s a collection of small techniques and smart shortcuts that professional chefs use without thinking. These cooking hacks transform ordinary ingredients into extraordinary meals, and once you know them, you’ll wonder how you ever cooked without them.
Whether you’re rushing through weeknight dinners or taking your time on weekend projects, these smart cooking strategies will save you time, reduce waste, and dramatically improve your results. From proper knife techniques to temperature tricks that guarantee perfect proteins, these are the game-changing hacks every home chef needs in their arsenal.
Temperature Control: The Secret Professionals Never Tell You
The single biggest difference between home cooking and restaurant cooking isn’t skill – it’s understanding temperature. Professional kitchens obsess over heat management because they know it’s the foundation of great cooking. When you nail temperature control, you unlock flavors and textures that seem impossible to achieve at home.
Start by letting proteins come to room temperature before cooking. That chicken breast or steak sitting in your fridge is around 40 degrees Fahrenheit. When you drop cold meat into a hot pan, the exterior overcooks while the interior struggles to warm up. Take proteins out 20-30 minutes before cooking, and you’ll achieve even doneness from edge to center. This single adjustment eliminates dry, overcooked exteriors and undercooked centers.
Invest in an instant-read thermometer and actually use it. Guessing doneness by touch or time is wildly inconsistent because every stovetop, oven, and piece of meat varies. According to professional cooking experts, a thermometer removes all guesswork. Chicken reaches safe doneness at 165 degrees, medium-rare steak at 130-135 degrees, and fish at 145 degrees. Hit these targets consistently, and your proteins will rival any restaurant.
Preheat your pans properly. When recipes say “heat over medium-high,” they assume you’re giving the pan at least 3-4 minutes to come up to temperature. A properly preheated pan creates immediate searing, which means better browning, more flavor development, and food that releases easily instead of sticking. Test readiness by flicking a drop of water into the pan – it should sizzle and evaporate almost immediately.
Flavor Building That Actually Makes a Difference
Good cooking isn’t about following recipes exactly – it’s about understanding how flavors develop and intensify. The techniques that create restaurant-quality depth are surprisingly simple once you understand the principles behind them.
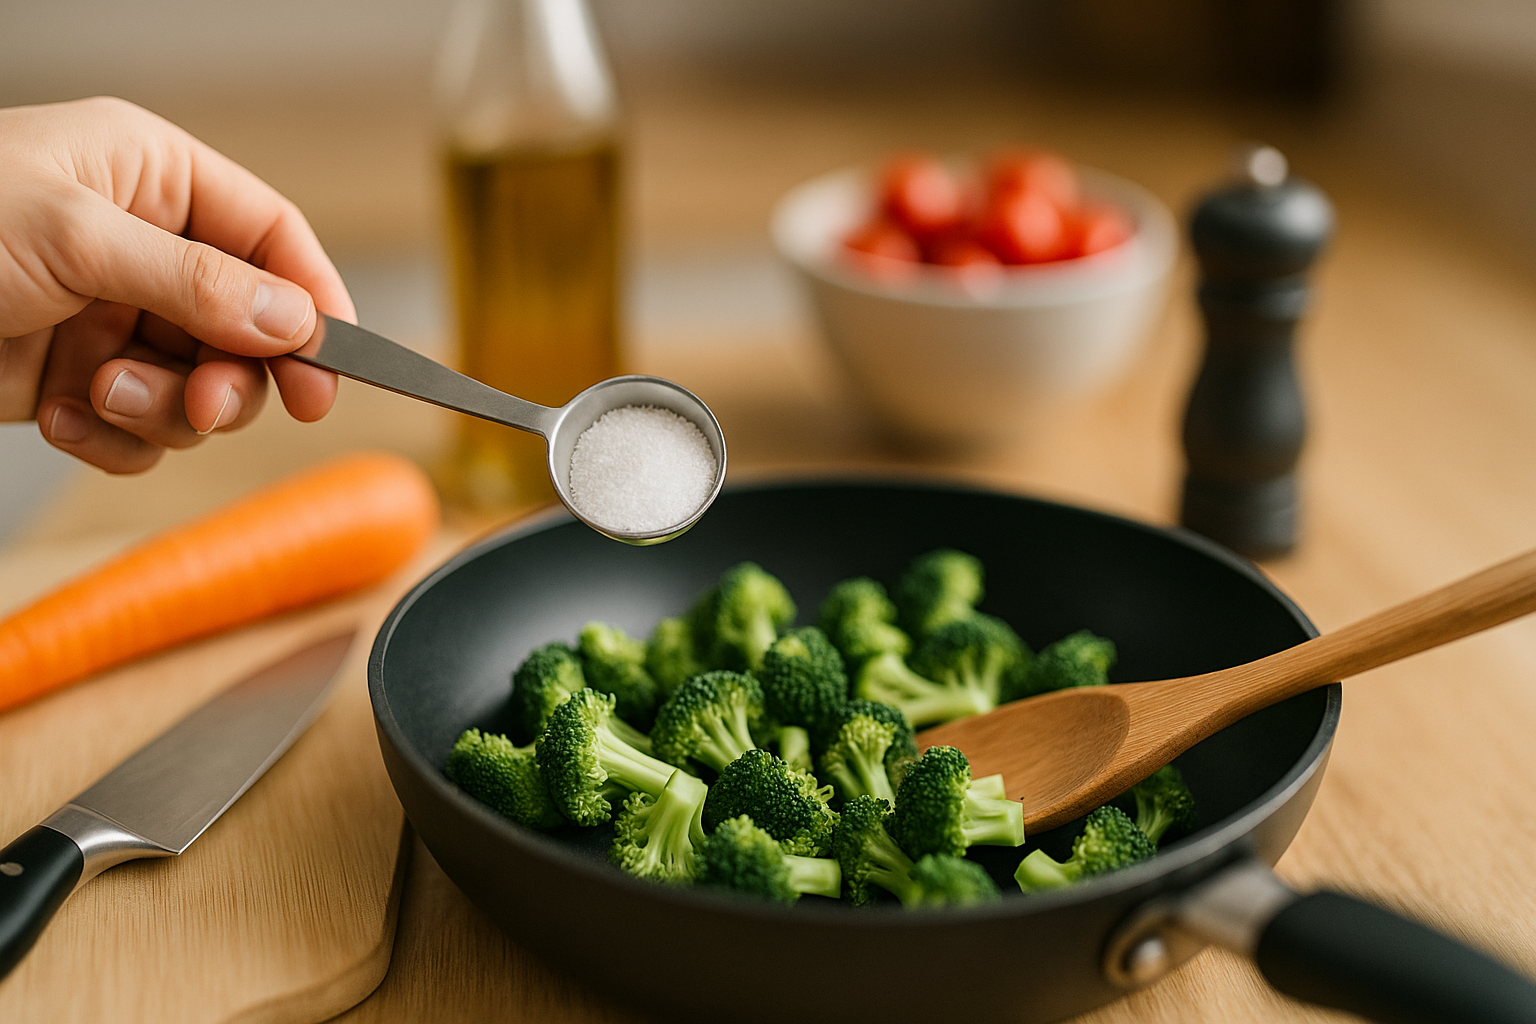
Salt your food in layers, not just at the end. When you season only before serving, salt sits on the surface. When you salt during cooking, it penetrates ingredients, enhancing their natural flavors from within. Understanding how salt, fat, acid, and heat work together transforms cooking from following instructions to creating balanced, delicious food instinctively. Season your vegetables when they hit the pan, your proteins before cooking, and your sauces as they simmer. Taste and adjust throughout the cooking process.
Brown your ingredients properly. That golden-brown color isn’t just visual appeal – it’s the Maillard reaction creating hundreds of new flavor compounds. Don’t crowd your pan. When vegetables or meat touch each other, they steam instead of brown. Work in batches if necessary, leaving space between pieces. Resist the urge to stir constantly. Let ingredients sit undisturbed for 2-3 minutes so they develop that flavorful crust.
Save and use fond, the browned bits stuck to your pan after cooking proteins. These concentrated flavor deposits are liquid gold. After removing cooked meat, add wine, broth, or even water to the hot pan and scrape up those bits with a wooden spoon. This deglazing technique forms the base of restaurant-quality pan sauces in under five minutes.
Fresh herbs go in at different times for different purposes. Hardy herbs like rosemary, thyme, and sage can withstand long cooking and should be added early to infuse dishes with subtle background flavor. Delicate herbs like basil, cilantro, and parsley lose their vibrant flavor when cooked, so add them just before serving for bright, fresh notes that pop.
Knife Skills and Prep Work That Save Time
Professional kitchens move fast not because chefs cook faster, but because they prep smarter. The techniques they use for efficient knife work and ingredient preparation translate perfectly to home cooking, cutting your active cooking time significantly.
Keep your knives sharp. A dull knife is slower, more dangerous, and crushes ingredients instead of cleanly slicing them. You don’t need expensive equipment – a simple handheld sharpener used for 30 seconds before cooking makes an enormous difference. Sharp knives glide through onions, tomatoes, and herbs with minimal pressure, giving you better control and faster prep.
Master the claw grip. Curl your fingertips under and use your knuckles as a guide for the knife blade. This protects your fingertips while allowing the knife to move quickly and safely. Your guiding hand controls the size of your cuts by moving backward in consistent increments. Once this grip becomes automatic, your cutting speed doubles without increasing risk.
Prep your mise en place before you start cooking. This French term meaning “everything in its place” is how professionals avoid mid-recipe scrambling. According to experienced kitchen professionals, having all ingredients measured, chopped, and ready eliminates stress and prevents burning because you weren’t ready for the next step. Use small bowls to organize prepped ingredients, and cooking becomes a calm, methodical process instead of chaos.
Cut ingredients uniformly for even cooking. When you have carrot pieces ranging from tiny to huge, some burn while others stay raw. Take an extra minute to ensure consistent sizes, and everything finishes cooking simultaneously. This applies to proteins too – pound chicken breasts to even thickness so they cook uniformly instead of producing dry edges and raw centers.
Smart Substitutions and Ingredient Hacks
Running out of an ingredient mid-recipe doesn’t have to derail your cooking. Understanding smart substitutions and ingredient workarounds keeps you cooking without emergency grocery runs.
No buttermilk? Add one tablespoon of lemon juice or white vinegar to regular milk and let it sit for five minutes. This creates the acidity buttermilk provides in baking, giving you tender pancakes and biscuits without keeping a rarely-used ingredient on hand. The same technique works with non-dairy milk for vegan baking.
Revive stale bread by running it briefly under water and baking at 350 degrees for 5-10 minutes. The moisture steams inside while the exterior crisps up, making day-old bread taste fresh again. This works for baguettes, rolls, and crusty loaves – though not pre-sliced sandwich bread, which needs different treatment.
Grate frozen butter for perfect biscuits, scones, and pie crust. When recipes call for “cold butter cut into small pieces,” they’re trying to create pockets of fat that produce flaky layers. Frozen grated butter distributes more evenly and stays colder longer than cubed butter, giving you superior texture with less effort. Keep butter in the freezer and grate what you need on a box grater.
Use pasta water strategically. That starchy cooking liquid isn’t waste – it’s a powerful sauce component. Before draining pasta, reserve a cup of the water. Add it tablespoon by tablespoon to your sauce to adjust consistency and help it cling to noodles. The starch acts as a natural thickener and emulsifier, creating silky, cohesive sauces without cream or flour.
Rescue over-salted soup or sauce by adding acid, not water. While diluting with water technically reduces saltiness, it also makes everything taste bland and watery. Instead, add lemon juice, vinegar, or tomatoes. Acid balances salt perception on your palate, making the dish taste properly seasoned instead of salty, while maintaining flavor intensity.
Storage and Organization That Prevents Waste
A significant portion of home cooking success happens before you even turn on the stove. How you store ingredients and organize your kitchen directly impacts both food quality and your efficiency when cooking.
Store herbs like flowers to extend their life by a week or more. Trim the stems, place them in a glass of water, and loosely cover the leaves with a plastic bag before refrigerating. This works for parsley, cilantro, and dill. Basil prefers room temperature treatment – keep it on your counter like a bouquet. When you’re preparing one-pot meals during busy weeknights, having fresh herbs ready makes the difference between good and great.
Freeze ginger and garlic instead of fighting to peel and mince them fresh every time. Whole ginger root freezes beautifully and grates easily while frozen – no peeling required. The skin simply stays behind as you grate. Garlic cloves can be frozen whole and grated or minced while still frozen. Both ingredients maintain their flavor and actually become easier to work with.
Line your refrigerator vegetable drawer with paper towels. Excess moisture causes vegetables to rot quickly. Paper towels absorb that moisture, keeping produce crisp and fresh significantly longer. Replace the towels weekly, and your lettuce, carrots, and celery will stay crisp for two weeks instead of wilting after a few days.
Store tomatoes stem-side down at room temperature. Research from food science experts shows this position slows moisture loss and prevents air from entering the tomato where the stem was attached. Never refrigerate tomatoes unless they’re about to spoil – cold temperatures destroy the compounds that make tomatoes taste like tomatoes, leaving you with mealy, flavorless produce.
Organize your spices alphabetically and check them annually. Spices don’t spoil, but they do lose potency. If your spices are over a year old, they’re likely contributing little beyond dust. Smell them – if the aroma isn’t strong and immediate, replace them. Buy smaller quantities of spices you use infrequently, and store them away from heat and light to maintain potency longer.
Equipment Tricks That Maximize What You Already Own
You don’t need a kitchen full of gadgets, but you do need to understand how to maximize the tools you have. These equipment hacks unlock capabilities you didn’t know your existing tools possessed.
Use your oven’s residual heat for multiple dishes. After roasting at high temperature, turn off the oven and immediately put in items that need gentle warming – dinner rolls, keeping cooked food warm, or slowly drying herbs. The declining heat won’t burn anything but provides hours of useful warmth without running up your energy bill.
Turn any pot into a double boiler by setting a heat-safe bowl over simmering water. This gentle, indirect heat method melts chocolate without scorching, makes smooth hollandaise sauce, and gently warms temperature-sensitive ingredients. Ensure the bowl doesn’t touch the water – you want steam heat, not direct water contact.
Use a wooden spoon across a pot to prevent boiling over. When cooking pasta, rice, or anything prone to foaming over, lay a wooden spoon across the top of the pot. The wood breaks surface tension and pops bubbles before they cascade over the edge. This simple trick prevents countless stovetop messes.
Microwave citrus fruits for 10-15 seconds before juicing to double your yield. The brief heat loosens the interior membranes, allowing juice to flow more freely when you squeeze. Roll the warmed fruit firmly on your counter before cutting, and you’ll extract significantly more juice with less effort. This works for lemons, limes, and oranges.
Use a stand mixer for shredding cooked chicken or pork. Place cooked meat in the mixer bowl and run it with the paddle attachment on low speed for 15-30 seconds. The paddle perfectly shreds the meat in seconds, saving your hands from the hot, tedious work. This technique is invaluable for meal prep sessions where you’re preparing multiple dishes.
Timing and Multitasking for Efficiency
The difference between cooking feeling stressful or enjoyable often comes down to timing. Professional kitchens coordinate multiple dishes finishing simultaneously through careful timing and strategic multitasking.
Read the entire recipe before starting, noting steps that require waiting. While something simmers for 20 minutes or bakes for 45, you can prep other components, clean your workspace, or start side dishes. Identify these windows in advance rather than discovering them mid-recipe when you’re already behind.
Start with your longest-cooking items and work backward. If your protein needs 40 minutes and your vegetables need 20, don’t start them together or everything finishes at different times. Chart out timing so everything converges at serving time. Write actual times (start roast at 5:15, add vegetables at 5:35) rather than trying to track intervals mentally.
Use kitchen timers for everything, not just baking. Set timers for sauteing vegetables, searing proteins, or reducing sauces. This frees your mental energy for other tasks instead of constantly clock-watching. Most phones support multiple simultaneous timers – use them to track several components independently.
Clean as you cook instead of facing a disaster afterward. When something goes in the oven or needs to simmer undisturbed, wash your prep bowls and cutting board. Wipe down counters between tasks. This continuous tidying means you finish cooking with minimal cleanup remaining, making the entire experience more enjoyable. Understanding which cooking myths are actually true also prevents unnecessary steps that create more mess without improving results.
Taste constantly throughout cooking. Don’t wait until the end to discover your dish needs more salt or acid. Tasting as you go allows small adjustments that build perfectly balanced final results. Keep a spoon nearby specifically for tasting, and develop the habit of checking seasoning at each stage.
Elevating Everyday Dishes
These final hacks transform ordinary meals into something special without requiring exotic ingredients or advanced techniques. Small touches make the difference between forgettable and memorable.
Finish dishes with high-quality fat for instant richness. A drizzle of excellent olive oil, a small pat of butter, or a spoonful of cream stirred in just before serving adds luxurious mouthfeel and ties flavors together. This technique, used in virtually every restaurant kitchen, takes two seconds and elevates everything from soups to vegetables.
Add a pinch of sugar to savory dishes that taste flat. Sugar doesn’t make food taste sweet at these tiny quantities – it rounds out flavors and balances acidity. This works particularly well in tomato-based sauces, where a quarter teaspoon of sugar transforms sharp, acidic sauce into balanced, complex flavor.
Toast nuts, spices, and grains before using them. Dry-toasting in a pan for 2-3 minutes awakens dormant flavors through the same Maillard reaction that browns meat. Raw nuts taste flat; toasted nuts taste rich and complex. Raw cumin is harsh; toasted cumin is warm and earthy. This simple step costs nothing but dramatically improves results.
Rest cooked proteins before cutting them. When you pull meat from heat, juices are concentrated in the center. Cut immediately, and those juices flood out onto your cutting board instead of staying in the meat. Wait 5-10 minutes depending on size, and juices redistribute throughout, giving you moist, flavorful results in every bite.
These cooking hacks aren’t shortcuts that compromise quality – they’re the techniques that separate mediocre home cooking from restaurant-caliber results. Start implementing one or two that address your biggest frustrations, then gradually incorporate more as they become habits. The goal isn’t perfection but continuous improvement, where each meal teaches you something that makes the next one even better. Your kitchen skills compound over time, and these fundamental techniques provide the foundation for a lifetime of confident, enjoyable cooking.
Leave a Reply