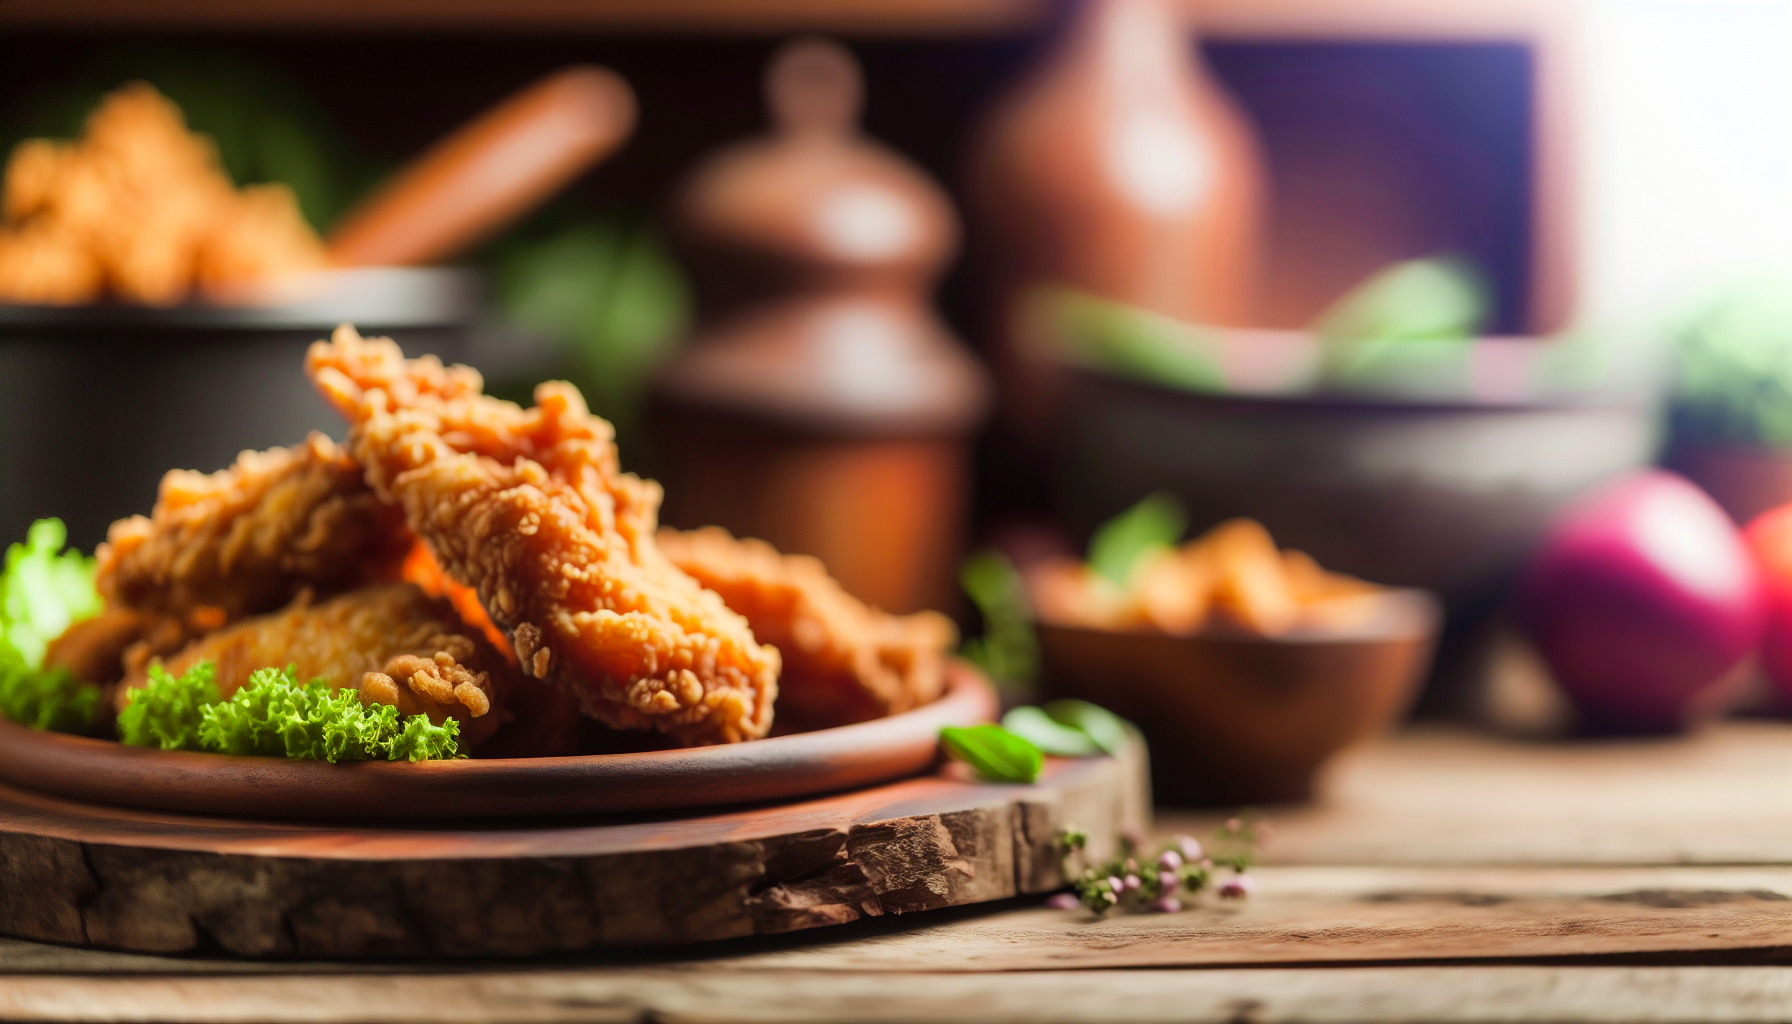
There’s nothing quite like biting into a piece of perfectly fried chicken—golden-brown on the outside, juicy and tender on the inside, with that unmistakable crunch that makes your taste buds sing. Southern cooks have been perfecting this art for generations, passing down techniques that transform simple ingredients into culinary magic. Whether you’re a complete beginner or looking to elevate your frying game, these time-tested secrets will help you create restaurant-quality fried chicken right in your own kitchen.
The difference between mediocre and magnificent fried chicken comes down to understanding a few critical techniques that Southern grandmothers have known all along. Let’s unlock these secrets so you can serve up crispy, flavorful chicken that’ll have everyone asking for your recipe.
The Foundation: Choosing and Preparing Your Chicken
Before you even think about heating oil, the journey to perfect fried chicken begins at the meat counter. Southern cooks know that quality ingredients make all the difference, and the right preparation sets the stage for success.
Selecting the Right Chicken
Whole chickens cut into pieces deliver superior flavor and texture compared to pre-packaged parts. When you cut your own chicken, you control the size of each piece, ensuring even cooking. If you’re buying parts separately, look for chicken with the skin on and bone in—these elements contribute moisture, flavor, and that coveted crispy texture.
For the juiciest results, opt for air-chilled chicken over water-chilled varieties. Air-chilled chicken hasn’t absorbed excess water, which means better browning and crisping when it hits the hot oil.
The Brine: Your Secret Weapon for Juiciness
Here’s where Southern cooks separate themselves from the rest: brining. This step is non-negotiable if you want chicken that stays moist even after frying. A simple brine of water, salt, and sugar works wonders, but many Southern kitchens take it further.
The classic buttermilk soak serves double duty as both brine and marinade. The acidity in buttermilk tenderizes the meat while the salt seasons it deep down to the bone. For maximum impact, submerge your chicken pieces in buttermilk seasoned with salt, pepper, garlic powder, and a dash of hot sauce. Let it rest in the refrigerator for at least four hours, but preferably overnight.
This extended soak accomplishes three critical goals: it seasons the meat thoroughly, tenderizes tough proteins, and creates a sticky surface that helps your coating adhere beautifully.
The Coating: Building Layers of Flavor and Crunch
The coating is where your fried chicken develops its signature crunch and golden appearance. Southern cooks have refined this process into an art form, and the details matter immensely.
Seasoning Your Flour
Plain flour won’t cut it. Your seasoned flour mixture is where much of the flavor lives, so don’t be shy with the spices. A classic Southern blend includes:
- All-purpose flour as the base
- Salt and black pepper (more than you think you need)
- Paprika for color and subtle sweetness
- Garlic powder and onion powder for depth
- Cayenne pepper for a gentle kick
- A pinch of dried thyme or oregano for herbal notes
The ratio matters less than making sure you can actually taste the seasoning when you dip your finger in the flour. It should be noticeably flavorful on its own.
The Double-Dredge Technique
This is the secret behind that extra-crispy, craggy coating that defines great fried chicken. Remove chicken pieces from the buttermilk one at a time, letting excess drip off but leaving the meat still wet. Dredge in seasoned flour, pressing firmly to ensure every surface is coated. Here’s the key: let the floured chicken rest for five minutes.
During this rest, the flour absorbs moisture from the buttermilk, creating a paste-like layer. Now dip the chicken briefly back into the buttermilk, then dredge again in the seasoned flour. This second coating, applied over the moistened first layer, creates those delicious crispy bits and uneven texture that serious fried chicken lovers crave.
Some Southern cooks add a secret ingredient to their flour: a few tablespoons of the buttermilk drizzled in and worked through with a fork. This creates small clumps in the flour that stick to the chicken and fry up into extra-crunchy nuggets.
Temperature Control: The Make-or-Break Factor
More fried chicken has been ruined by incorrect oil temperature than any other single factor. Too cool, and your coating absorbs grease, becoming soggy and heavy. Too hot, and the outside burns before the inside cooks through.
Choosing Your Frying Fat
Southern tradition favors lard or shortening for their high smoke points and neutral flavors, but modern cooks often use peanut oil or vegetable oil with excellent results. Whatever you choose, you need enough to come halfway up the sides of your chicken pieces—usually three to four cups in a large cast-iron skillet or Dutch oven.
The Magic Number: 325-350°F
This temperature range is the sweet spot for fried chicken. At 325 degrees Fahrenheit, the coating crisps steadily while the interior cooks gently, ensuring juiciness. A reliable deep-fry or instant-read thermometer is essential—guessing simply doesn’t work.
Heat your oil slowly over medium heat, monitoring constantly. When it reaches 350°F, you’re ready to start frying. The temperature will drop when you add cold chicken, which is why you shouldn’t overcrowd the pan. Maintain the heat between 300-325°F during cooking by adjusting your burner as needed.
Don’t Overcrowd the Pan
This bears repeating because it’s so important: give each piece of chicken space. Overcrowding drops the oil temperature dramatically and creates steam, which is the enemy of crispiness. Fry in batches, typically four to five pieces at a time depending on your pan size.
The Cooking Process: Timing and Technique
With your chicken properly prepared and your oil at the right temperature, it’s time to fry. This is where patience pays dividends.
The Order of Operations
Start with the larger, thicker pieces like breasts and thighs, as they take longest to cook. Add them to the oil gently, laying each piece away from you to avoid splatter. Don’t move them around—let them sit undisturbed for the first several minutes so the coating can set properly.
After about seven minutes, flip each piece once using tongs (never a fork, which pierces the coating and releases precious juices). The chicken should lift easily from the pan when it’s ready to flip. If it sticks, give it another minute.
Cooking Times by Cut
As a general guide, expect these cooking times at 325°F:
- Wings and drumsticks: 12-14 minutes total
- Thighs: 14-16 minutes total
- Breasts: 16-18 minutes total
However, these are estimates. The only reliable way to know when chicken is done is with an instant-read thermometer. Insert it into the thickest part of the meat without touching bone—you’re looking for 165°F.
The Resting Period
When each piece reaches the proper temperature and sports a deep golden-brown coating, transfer it to a wire rack set over a baking sheet. Never drain fried chicken on paper towels, which trap steam underneath and soften your hard-won crispy coating. The wire rack allows air circulation on all sides, keeping everything crispy while the chicken rests for at least five minutes before serving.
Southern Variations and Pro Tips
Once you’ve mastered the basics, these regional variations and professional techniques can take your fried chicken to the next level.
The Spicy Route
For Nashville-style hot chicken, prepare a cayenne-based oil paste while your chicken rests. Combine melted butter or reserved frying oil with cayenne pepper, brown sugar, garlic powder, and paprika. Brush this incendiary mixture onto the fried chicken immediately after it comes out of the oil. The heat level is adjustable based on how much cayenne you use—start conservatively and build up.
The Finishing Touch: Honey Drizzle
A recent trend with deep Southern roots involves drizzling warm honey over hot fried chicken just before serving. The sweet-savory-spicy combination is irresistible, especially when you’ve added cayenne to your flour mixture. Some cooks infuse the honey with hot peppers for an extra dimension of flavor.
Cast Iron is King
While you can fry chicken in any heavy-bottomed pot, cast iron skillets remain the gold standard in Southern kitchens for good reason. They retain heat exceptionally well, maintaining steady oil temperature even when cold chicken is added. The heavy material also distributes heat evenly, preventing hot spots that can burn your coating.
The Pressure-Frying Shortcut
Many Southern cooks swear by pressure frying, which was popularized by a certain famous fast-food chain. A pressure fryer cooks chicken faster while sealing in moisture, but requires specialized equipment. If you have a pressure fryer, you can achieve tender, juicy results in about half the time of traditional frying.
Common Mistakes to Avoid
Even experienced cooks can fall into these traps. Recognizing them helps you troubleshoot when things don’t go as planned.
- Frying straight from the refrigerator: Cold chicken drops oil temperature dramatically and cooks unevenly. Let your dredged chicken sit at room temperature for 20-30 minutes before frying.
- Using the same oil repeatedly: Oil breaks down with each use, lowering its smoke point and affecting flavor. Strain and store it after use, but don’t push it beyond two or three frying sessions.
- Cutting into chicken to check doneness: This releases juices and defeats the purpose of careful temperature control. Invest in a good instant-read thermometer instead.
- Skipping the resting time: Both before frying (to let the coating set) and after (to let juices redistribute), resting periods are crucial for texture and flavor.
- Under-seasoning: Remember that much of your seasoning is in the coating, not the meat itself. Be generous with salt and spices in your flour mixture.
Serving Suggestions and Sides
Fried chicken deserves accompaniments that complement its rich, savory flavor without overwhelming it. Traditional Southern sides create a balanced, satisfying meal.
Creamy coleslaw provides a cool, crunchy contrast to hot, crispy chicken. The acidity in the dressing cuts through the richness of the fried coating. Mashed potatoes with cream gravy, collard greens with pot liquor, buttermilk biscuits, and mac and cheese all have earned their places on the Southern fried chicken table.
For a lighter approach, serve your fried chicken over a simple green salad with a tangy vinaigrette, or alongside grilled vegetables and corn on the cob. The chicken is rich enough to stand up to fresh, bright flavors.
Storage and Reheating
While fried chicken is undeniably best hot and fresh, leftovers can be nearly as good if you handle them correctly. Let the chicken cool completely, then refrigerate in a loosely covered container for up to three days. Don’t seal it tightly while it’s still warm, as trapped steam will soften the coating.
To reheat, skip the microwave, which turns crispy coating into rubber. Instead, place chicken on a wire rack over a baking sheet and warm in a 375°F oven for 15-20 minutes until heated through and the coating crisps up again. Some cooks prefer an air fryer for reheating, which can restore crispiness even more effectively in just 8-10 minutes at 350°F.
Conclusion
Perfect Southern fried chicken isn’t complicated, but it does require attention to detail and respect for time-honored techniques. From the overnight buttermilk soak to the carefully monitored oil temperature, each step builds toward that ideal combination of crackling-crisp coating and juicy, flavorful meat. Master these fundamentals, and you’ll be serving fried chicken that honors the Southern tradition while making it your own. Now it’s time to heat that oil and start frying—your kitchen is about to smell absolutely amazing.
Leave a Reply